Tuesday, 25 February 2014
Final Digipak

We have focused our digipak on our images which we have taken throughout the process. We have focused on the contrast of de-saturated colour and the bright watered down inks which is seen throughout our music video. The different photos on the pack have been taken on all different occasions of the production and post production stages.
Our front cover image isn't anyone that is in the band or the video but is related closely. The reason we used this is because its a strong photograph and makes the audience wonder what our album is about and the style of music. To produce this digipak I used the app 'Fragment' by Pixete LLC on the IPAD to produce the design of the images. The back cover image was taken when we were experimenting with the different coloured inks being dripped into water. Using the app we managed to choose from the different designs and formatted the image to fit this. When choosing the different designs for both the front and back we decided that on the front cover the main image should be in focus but decided to blur the image in the lines and on the back do the opposite. This also meant that we could have the other songs in the album written in-between the fragmented square lines.
The inside left panel contains an image which we took in the studio which is also shown on the website. We chose to put this photo into black and white as it then fits with our grungy style band. Using Photoshop we used the blending tools to place the illusion of the ink dripping down in the background to link in with what happens in our video when the band are singing. The ink dripping down also links in with the back of the album cover, so this all flows more.
As our video and Digipak relates to water a lot we thought it would be appropriate to have the inside right of the digipak with a water image. We place it in and put the effect on using the Ipad and we used Photoshop to smudge it to give it the effect that the water is making the ink run.
Throughout the process we created many drafts of digipaks in order to make sure that we could get the perfect one, we wanted to experiment different kinds of photos, shapes and text.
Fineshrines Final Website
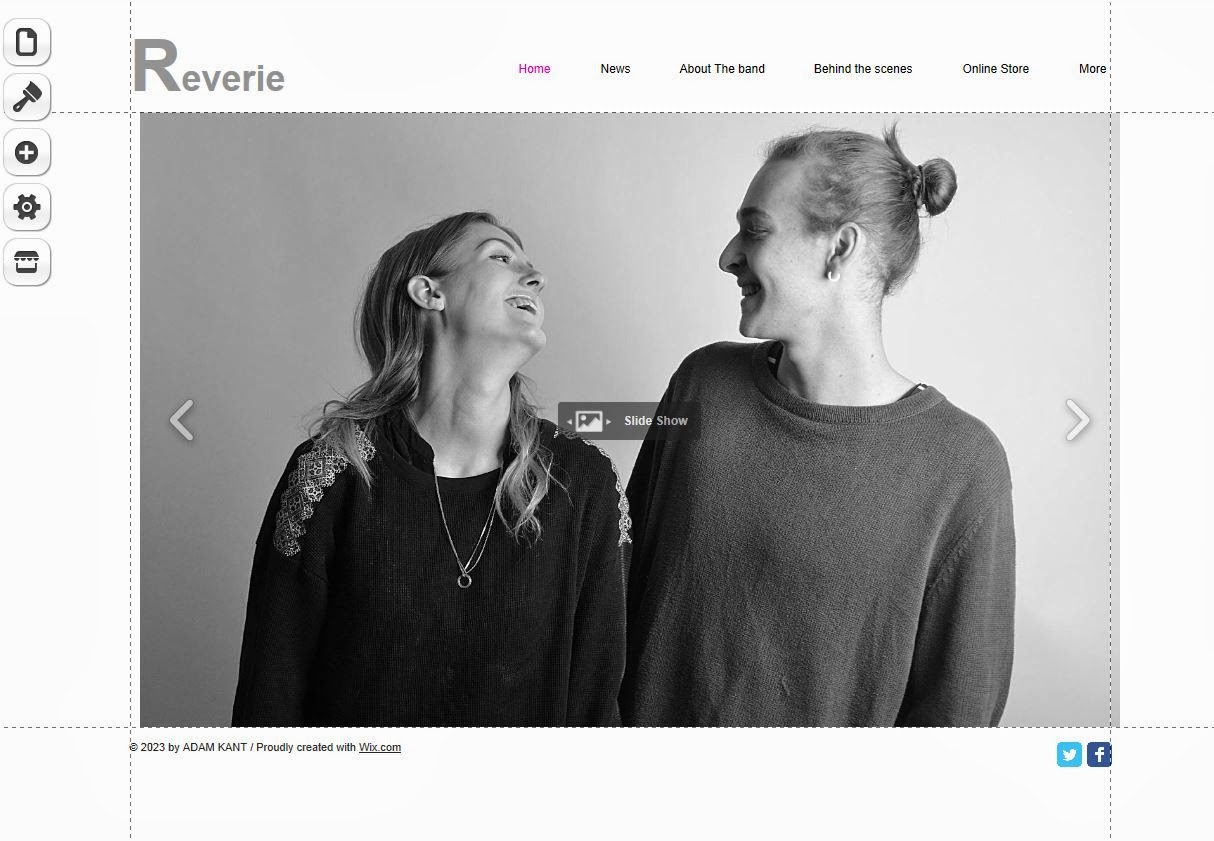
We have completed our website for our band 'Fineshrine'. We decided to stick to basic colours such as greys, blacks and whites as this works best with the style of our band. The website opens with a picture of the band so that people can see who is in the band. There are many other options to also click on so that you can see what the band are doing, photos of behind the scenes, their latest new and videos.
Our website contains many photos of the band as well as backstage pictures of the filming of their new music video 'Fineshrine'. We included this as on other artists websites they include photos and information on what they are currently up to which gives an insight to the audience of what the band are up to.

We included a section on how Reverie became a band and a bit about their history as fans are always interested to know what bands did before they started producing music. The rest of the sections include information such as an online store, contact information and behind the scenes.
We have made it very easy to use so that people of all ages understand everything on the website. The photos are all very self explanatory as well as the text being easy to read.

Below is the link to be able to access the website for our band 'Reverie':
http://fineshrine.wix.com/fineshrine#!landscape/cyuu
Friday, 3 January 2014
Task 4 - How did you use media technologies in the construction and research, planning and evaluation stages?
How did you use media technologies in the construction and research, planning and evaluation stages?
The Script:
Research:We chose our track and discovered it was part of the indie/dream pop genre and therefore this is what we focused on whilst making our video. After creating a storyboard on paper we filmed it with the SONY NX5 in order to create a digital animatic that we edited and cut together on the soft wear final cut pro in time to our music. The purpose of this was to see how the length of the shots worked with the music and see if there were many vital changes we needed to make, in order to improve the story line before the day of the shoot. We stuck to this animatic as it was vital on the shoot. We also had to cut the length of our track as the music was too long for the length of the video; we used the software ‘Sound Forge’ for this.The photographs were essential to the concept of our video and were taken on the groups IPhones as well as on an SLR camera. We then got these double printed, so we had 400 photographs to fill the room.
Production:
We filmed most of our footage on the FS100, but our video also contained a lot of slow motion footage, which was filmed on the NX5. When filming the performance element we had to use the Ipad to play the music out loud which would help later for the lip sync in post-production, and we also had to use the digital clapper so when we played it back we knew where we had to start editing from. We also took photos on the shoot day using a Cannon 5D, as we wanted to record what we had done on the shoot day as well as take photos for our website. Some of this footage was shot on a crane from above as we wanted to use a birds eye view shot so you could see the whole set, this was taken on the Sony FS100 and in the bathroom most it was most filmed using the NX5 due to the slow motions. While filming this there was a TV screen next to us so that we could make sure we liked what we were filming as we went along.
Post Production:We used the soft wear final cut pro to edit our product together. We created different rushes and bins to make it easy for each clip to be found. Using the different channels, we used the appropriate clips and inserted them into the suitable places. We also learnt how to use lip sync which we had done an activity on earlier on in the year. We placed the narrative of the video down first as we felt that this was the most important element of our video as it was the most visually compelling. After we created a first rough cut we evaluated what areas we needed to improve or completely change to make it the best we possibly could.We used the soft wear ‘After effects’. We used this software to create visual effects in order to bring together three separate plates and using the dissolve tool we created the illusion that the main girl was dissolving into the bath. This appeared at the very end of the music video.We also used the program ‘colour’ to adapt the finishing, colouring and grading. We de-saturated the colours to create a blue tinted finish, this created a morbid effect.We used a range of techniques such as; channel layers, blading, marking, synching, different rushes and bins, slow motion shots, changing the saturation and filters in order to create a successful and creative product.
Subscribe to:
Comments (Atom)